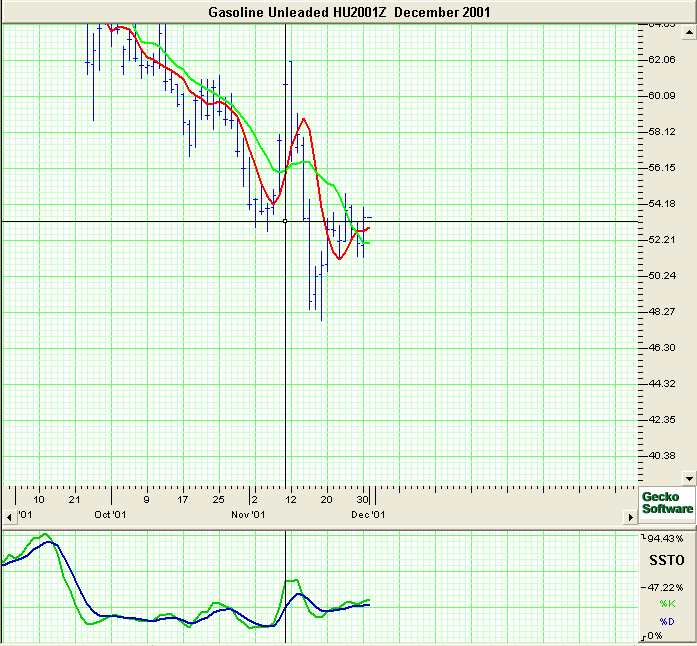
Charting a Crosshair:
- Select the Crosshair Tool from the Charting Toolbox.
- Click on the Chart Window to place Crosshair. You may
click and drag to a new position after selecting the Crosshair.
Moving the Crosshair Drawing:
To select the Crosshair, click on the center point or lines of the
crosshair and drag to the new location, release mouse button to place.
Note: The tool is selected when a box appears at the center
point.
Deleting a Crosshair Drawing:
Select the Crosshair drawing by clicking on it and press the Delete
Key on your keyboard.
Deleting only the Horizontal/Vertical Lines of the Crosshair:
- Right-click on the center point of the Cross Hair to view the
properties menu.
- Select/Deselect Show Horizontal (Vertical) Line. A check
will appear in front of the item when it is shown.
Changing Properties of a Crosshair:
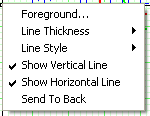
- Right-Click on the drawing to view the properties menu. (see
below)
- Properties that can be changed are:
- Foreground: Changes the line color of the Crosshair.
- Line Thickness: Changes the thickness of the Crosshair lines.
Choose values from 1-6.
- Line Style: Changes The line style of the Crosshair lines.
Choose from solid, dashed, dotted and more.
- Show Vertical Line: Select/Deselect to view or hide the
vertical Crosshair line.
Note: If both the vertical and horizontal lines
are deselected, the crosshair tool will be deleted.
- Show Horizontal Line: Select/Deselect to view or hide the
horizontal Crosshair line.
Note: If both the vertical and horizontal lines are deselected,
the crosshair tool will be deleted.
- Send to back: Changes the layer of the tool. This option is
used when more than one tool is in the same area of the chart. Click
on Send to back when you need to access a tool under the 1-2-3
drawing.
 |
|

